Have you been chasing the changing leaves this season? Fall is in full swing with its cooler temperatures and shorter days, but pretty soon all RVers are going to have to start prepping for the chilly season. By performing a few routine maintenances required for winter, you'll be able to avoid costly repair bills come spring.
Most RV's follow the same winterization process, which we've outlined in a checklist below. We partnered with our La Mesa RV service department to show you all the steps you'll need to complete to get your motorhome ready for wintertime.
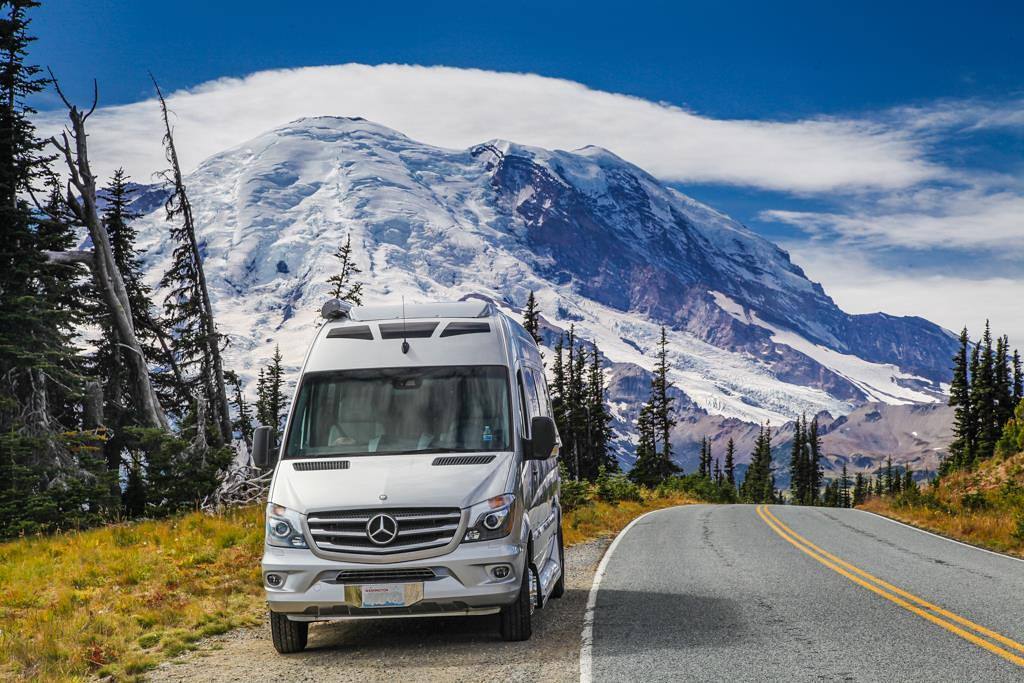
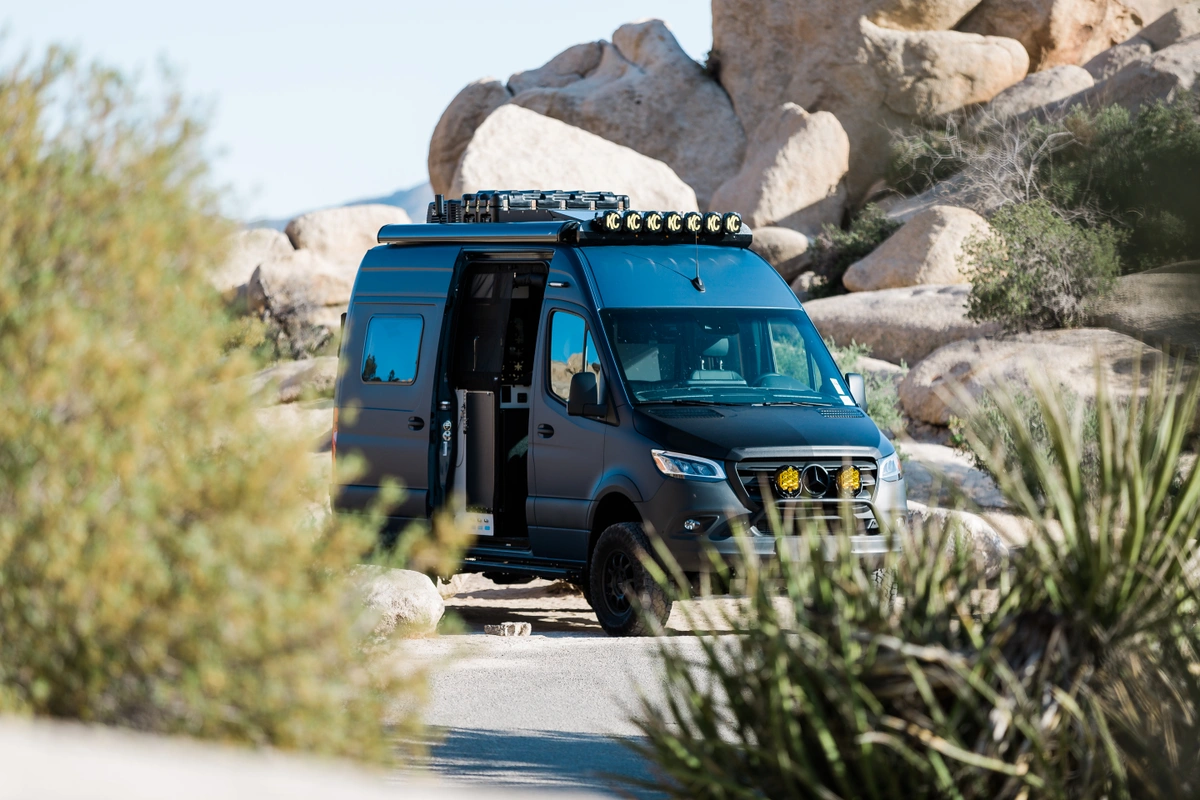
Photography: @roadtrekmh
HOW-TO WINTERIZE YOUR RV
STEP 1: Empty black, gray and freshwater tanks.
STEP 2: Turn on fresh water pump and open up all faucets (both hot and cold in the kitchen, bathrooms and outdoor shower) to drain all the water out of the coach until it's completely dry.
STEP 3: Turn off and drain ice maker line.
STEP 4: Turn off the breaker for the hot water heater before you remove the lid then drain the heater. This will keep you from accidentally burning the electric element out once you bring your RV out of storage.
STEP 5: Once the water is drained, replace the plug.
STEP 6: Next, by-pass the water heater. The by-pass valve allows you to skip putting antifreeze into the water heater.
STEP 7: Once all your water is drained, turn off all your valves (including low point drains).
STEP 8: If you have a whole house filter you're going to want to remove it and discard it because it will be useless once you put antifreeze in it.
STEP 9: Some RV's have a winterization valve. If you have one, turn it on. The valve works by not putting water into the system when it's on, even if you connect your fresh water hose up to the valve and turn it on having forgotten your RV had been winterized (just like the by-pass valve).
STEP 10: Once that's all complete, you're ready for your antifreeze.
STEP 11: Insert a clear tube on the fresh water pump side, turn your water pump on and it will start drawing the antifreeze in.
STEP 12: Go inside your RV and repeat the process with your faucets. Turn on your hot and cold faucets until the antifreeze is coming through the lines.
STEP 13: Complete the process for all faucets in the RV (kitchen, bathrooms, don't forget the outside shower) and make sure there's antifreeze coming out.
STEP 14: Once the antifreeze is through the system, pour a quarter of a cup of antifreeze down each of your p-trap drains (kitchen, bathroom and shower sink).
STEP 15: If your water heater has an electric heating element, make sure it's turned off. Close all faucets.
STEP 16: You've done it! Your RV is now winterized. Watch the video tutorial below to learn more on how to get your motorhome ready for the season.
Will you be making your way to rocky terrain soon? Check out our High Elevation Tips to RVing Cross Country and leave us a comment below with your fall route!
How to Prep Your RV For Winter Part I
