Are you RVing this winter but unsure of how to winterize your motorhome? If you're looking for an easy to follow, step-by-step guide to RV winterization our team at La Mesa RV has you covered. Below you will find our guide to winterizing your RV heater. If you're in need of further assistance on winter travel, we recommend reading the following two-part article, How to Winterize Your RV Part I and II. Both are excellent resources for you to prepare your motorhome for an ultimate winter adventure.
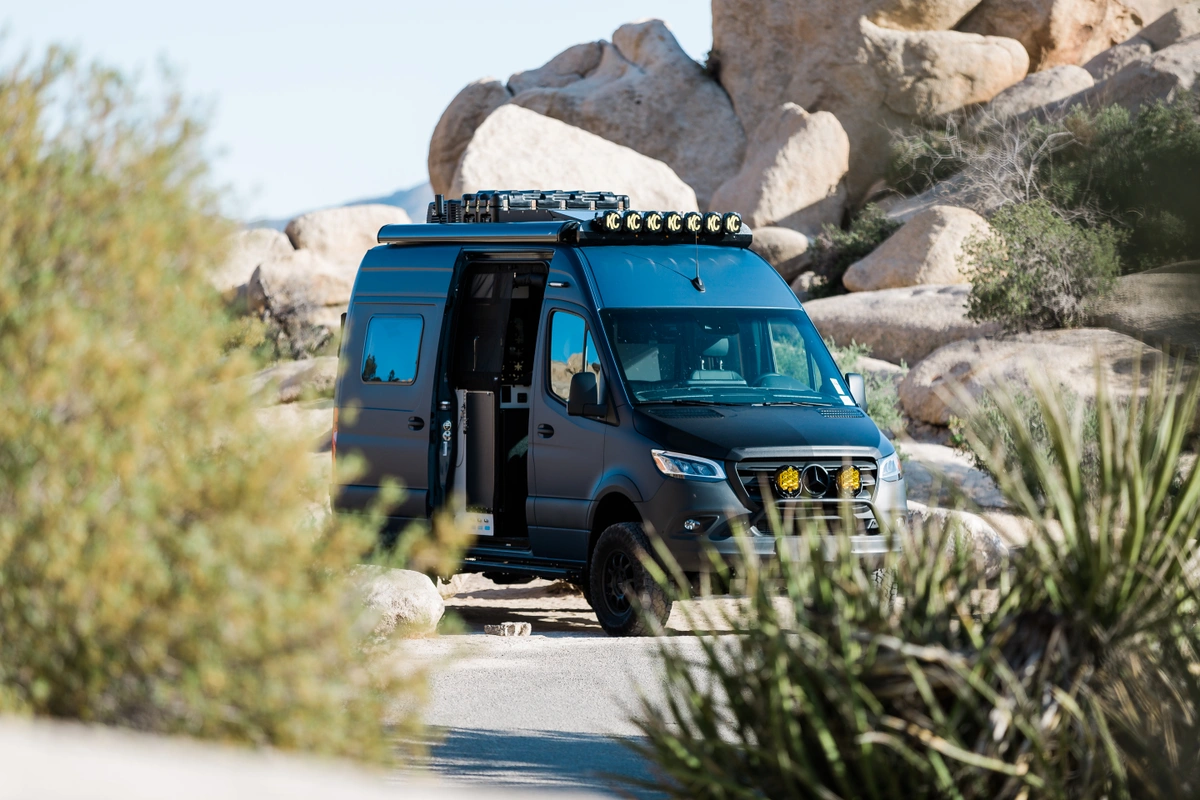
Photography: @jscottish
How To Winterize A RV Heater
You want to winterize your RV water system to keep it from freezing. Always refer to your owners manual for unit specific guidelines.
STEP 1: Remove and by-pass any inline water filters you have before you begin.
STEP 2: Drain your freshwater holding tank. Drain and flush your gray and black holding tanks.
STEP 3: Lubricate the termination valves with WD-40.
STEP 4: Drain the water heater and remove the drain plug. Open the pressure relief valve. NEVER drain the water heater when it is under pressure or if it is hot.
STEP 5: Open all faucets both internal and external on your RV.
STEP 6: Open all low point drain lines (there is one for hot and cold water lines).
STEP 7: By-pass the water heater.
STEP 8: Disconnect the inlet side of the water pump, then connect a piece of clear tubing and add one gallon of non-toxic RV antifreeze. If you have a water pump converter kit you can use that instead.
STEP 9: Turn the water pump on and pressurize your system. First open the hot faucet, then the cold until you see the antifreeze.
STEP 10: Pour a cup of antifreeze down each drain. Don't forget the toilet. You've now completed winterizing your RV heater.

How To Winterize A RV Heater
For additional information on winterizing your RV, check out our RV how-to video above. If you're RVing this season, we want to hear from you! Leave us a comment in the section below sharing your RV winter destination for a chance to be featured on our La Mesa RV Experience Life blog.